Modding NES Games for Fun and Art. Part 1: Super Lupo Bros.
Old games for the Nintendo Entertainment System can be lightly hacked in order to change the sprites, sounds and more. My first hi-larious project was to insert myself in Super Mario Bros.
Old games for the Nintendo Entertainment System can be lightly hacked in order to change the sprites, sounds and more. My first hi-larious project was to insert myself in Super Mario Bros.
Wait, but why do this?
The impetus for this project was to take an example from my childhood video gaming experiences and insert my childhood back into that game. To that end, I edited a rom of the original game, in order to swap the Mario sprite with one that more closely resembles me. For the exhibition Galaxy Champion FUN ZONE, the modified version of the game was loaded onto a cartridge and made playable in a real NES system. This was an important aspect of the project, as I wanted the sense of playing the game to fit into a player's memories and feelings of nostalgia. In it's presentation, the installation explicitly referenced a home gaming environment, in order to help facilitate a gallery goers participation with the game.
The work of figuring all this out led to a number of interesting processes: sprite editing, palette swapping, title editing, and chip flashing. So, this blog post and the next is an attempt to corral all of this information in one place, not really to make a "how-to" guide, but to leave a strong trail of breadcrumbs for anyone else (or future me) who wants to do the same thing.
But What's a Sprite Though?
In terms of the NES, a sprite is just a drawing composed of a set of 8 by 8 pixel tiles. Each sprite-group can only use 4 colours, with one of those colours used for transparency. Each character in the game uses a combination of tiles to draw and animate their movements, for example: a Goomba's sprite is composed of 4 tiles stacked two rows high and two columns wide. When the Goomba walks across the screen, the sprite is flipped to animate a walking motion. For Mario things get a bit more complicated...Mario runs, jumps, crouches, swims, and becomes Super! Each of these actions need to be animated on screen in some way, while keeping within the NES restrictions on colour use and rom storage space.
For my Super Lupo Bros. project, an important part was to switch the Mario sprite into something that looked a bit more like me. But how do you change graphics in a game that already exists? To figure out this process, this youtube video by John Riggs was very helpful. Riggs demonstrates how all of the Super Mario Bros. cart data in the NES rom can be inspected visually using a program called Tile Layer Pro (TLP). Using TLP, the sprite data can be viewed and edited, allowing you modify the existing graphics. To get a sense of what is involved, take a look below to see how I've changed the Mario sprites to Max sprites:
![]()
In the gif above, the left side shows the first four tiles which compose Mario's upper torso, and the right side shows a sample of the subsequent tiles used in the game. Luckily, in the Super Mario Bros. rom, the data for the sprites is in a pretty logical order: just about all the tiles for the Mario sprites are aligned left to right, head to toe.
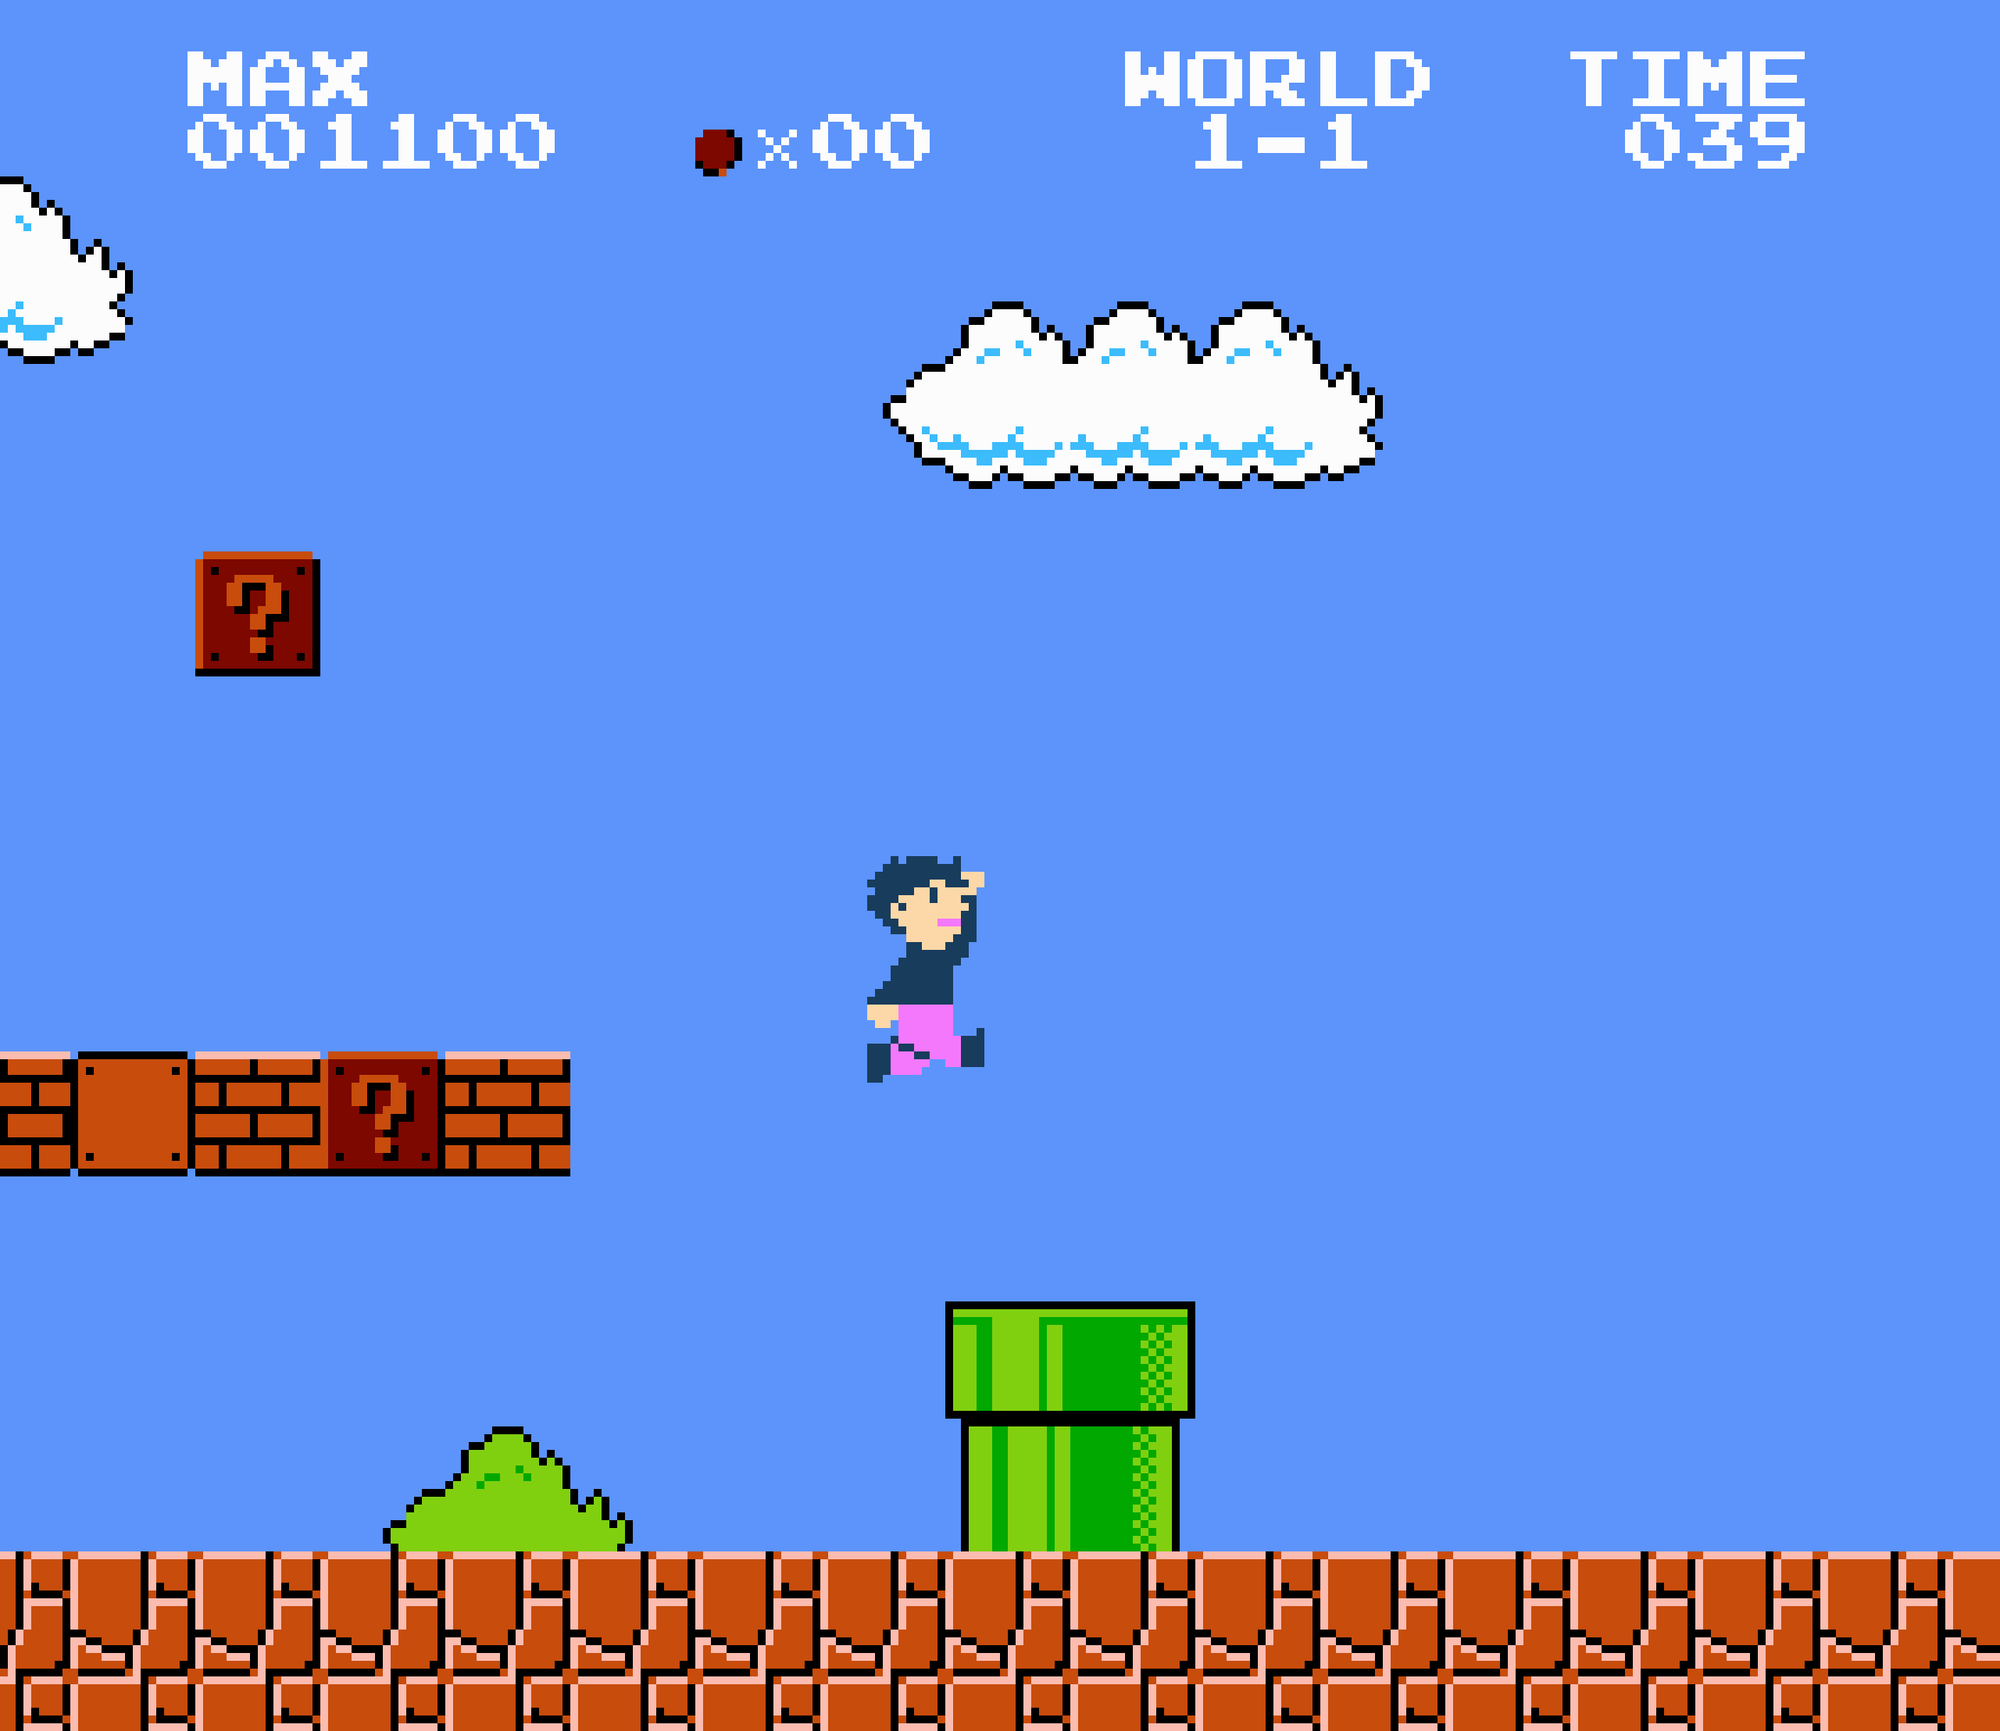
My edits are mainly centered around slimming Mario down a bit, while getting rid of Super Mario's overalls and his giant nose and moustache. Though, for Little Max I kept the overalls to make him seem more like a kid version of Super Max. Oh yeah, and I made my pants pink by swapping the palette used, a process I'll describe in part 2. Below is what this looks like in action:
There are a few more details throughout the game (not all pictured in the above graphic): my name is inserted at the top of the screen, the mushrooms are now gameboys, the ivys are tomato vines, the fire flower is a fire pizza, and a few more switches/insertions. Overall, the total amount of graphic data in the original game is very limited...if you noticed, the clouds use exactly the same sprites as the shrubs, so as a result the total visual character of the game feels familiar. I stayed away from making bigger changes, like changing the layout of the levels, because I wanted the game to be played in a way that closely matches a player's muscle/nostalgia memory of the game. In this way, Super Max is a drop in replacement for all your childhood gaming memories!
Title Swap
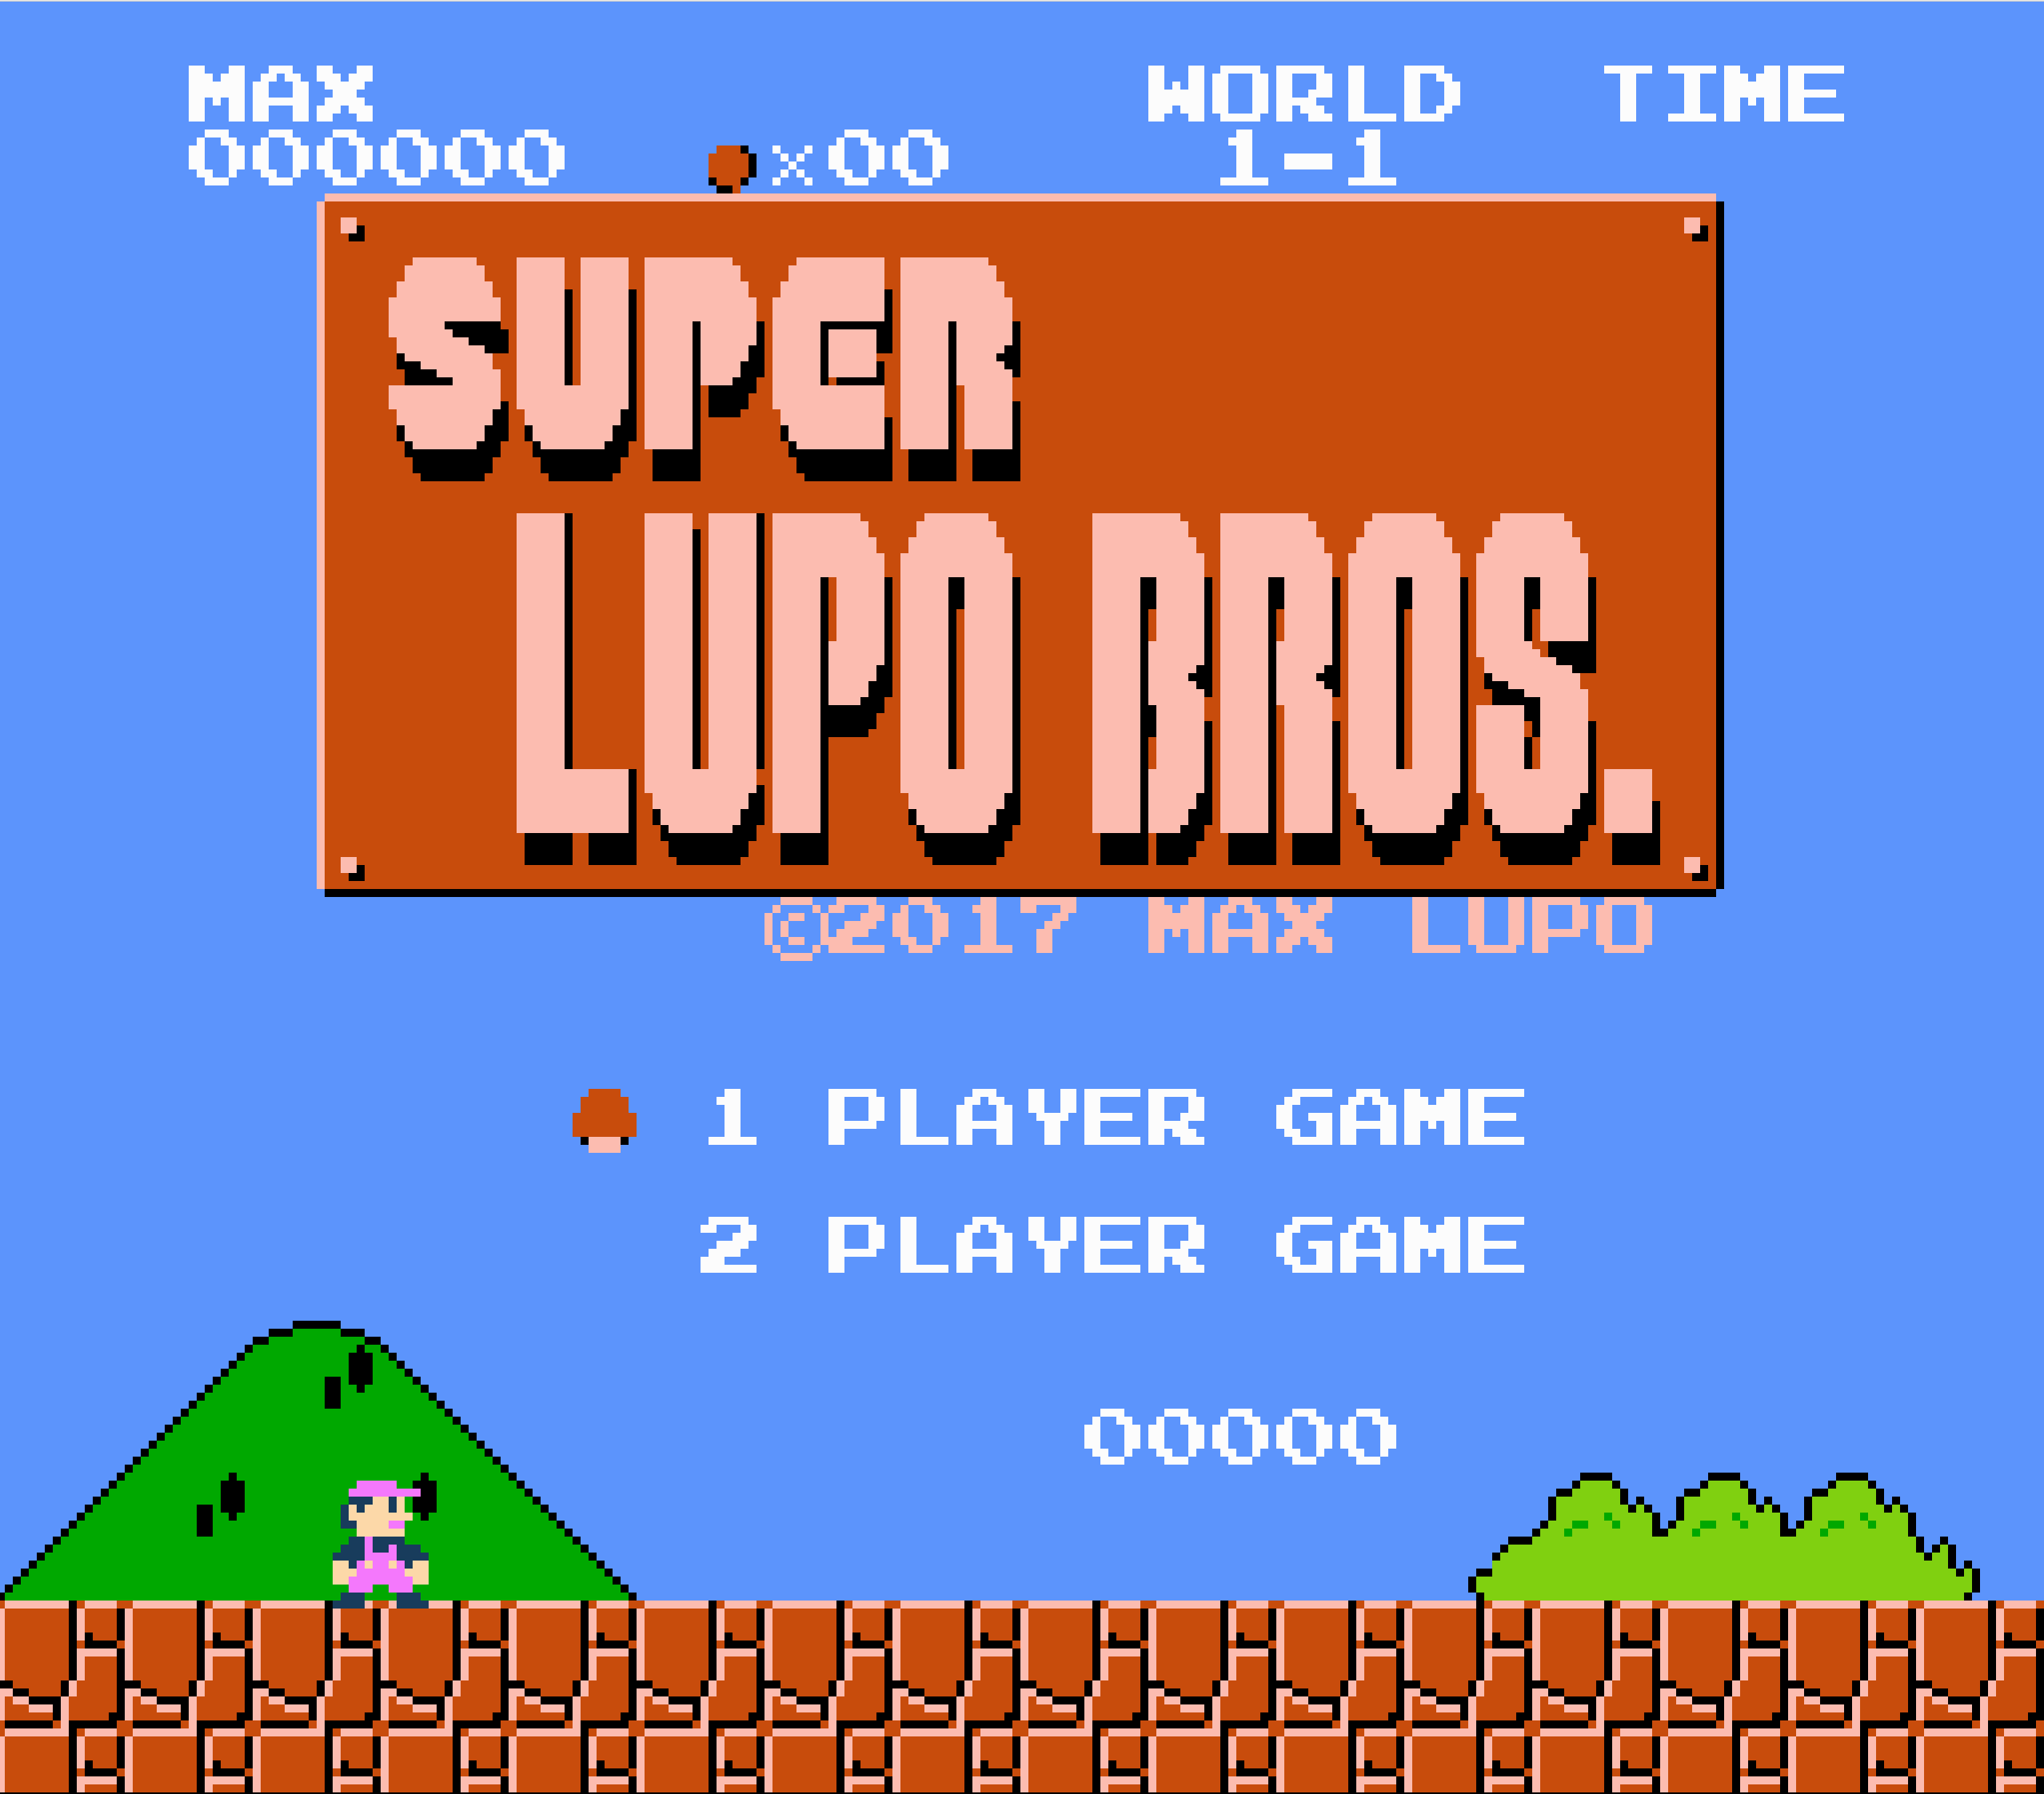
The first thing a player sees when booting up the game is a fun and inviting title screen. Changing this screen was a high priority, but at first it seemed a little difficult. The Super Mario Bros. cart is so resource constrained that the title screen does not exist anywhere in the cart as a single cohesive graphic; instead, it is assembled from various reused tiles. The most common process for editing the title relies on a program called SMB Title Editor, but the text in the application is garbled due to the unlocalised font rendering of Japanese characters.
Luckily, John Riggs has another youtube video that perfectly explains how to use the application. Following that guide it is easy enough to make your custom title! As an additional note though: if you do want to edit the title of the game, you must start with a rom that has not been modified in any other way. Meaning, in your Super Mario Bros. rom hacking endeavours start with editing the title before making any other modifications, otherwise it will fail to apply your changes.
Playing the Game
So, editing the game is fun, but what are the options when it comes time to play the thing? Of course, there is no shortage of emulators which make it possible to play the game on a computer, but that wasn't quite enough for this project. I wanted the tactile experience of playing the game to perfectly match a player's expectations and muscle memory. That meant I had to find a way to get the modified rom onto a cartridge that could be put in a real NES system.
There are a few options for this, but the one I settled on was using a new blank cartridge, and flashing/programming it with my custom rom. There is what's called a "kazzo cartridge programmer dumper", a version of which can found here as sold by a delightful company called INFINITE NES LIVES.
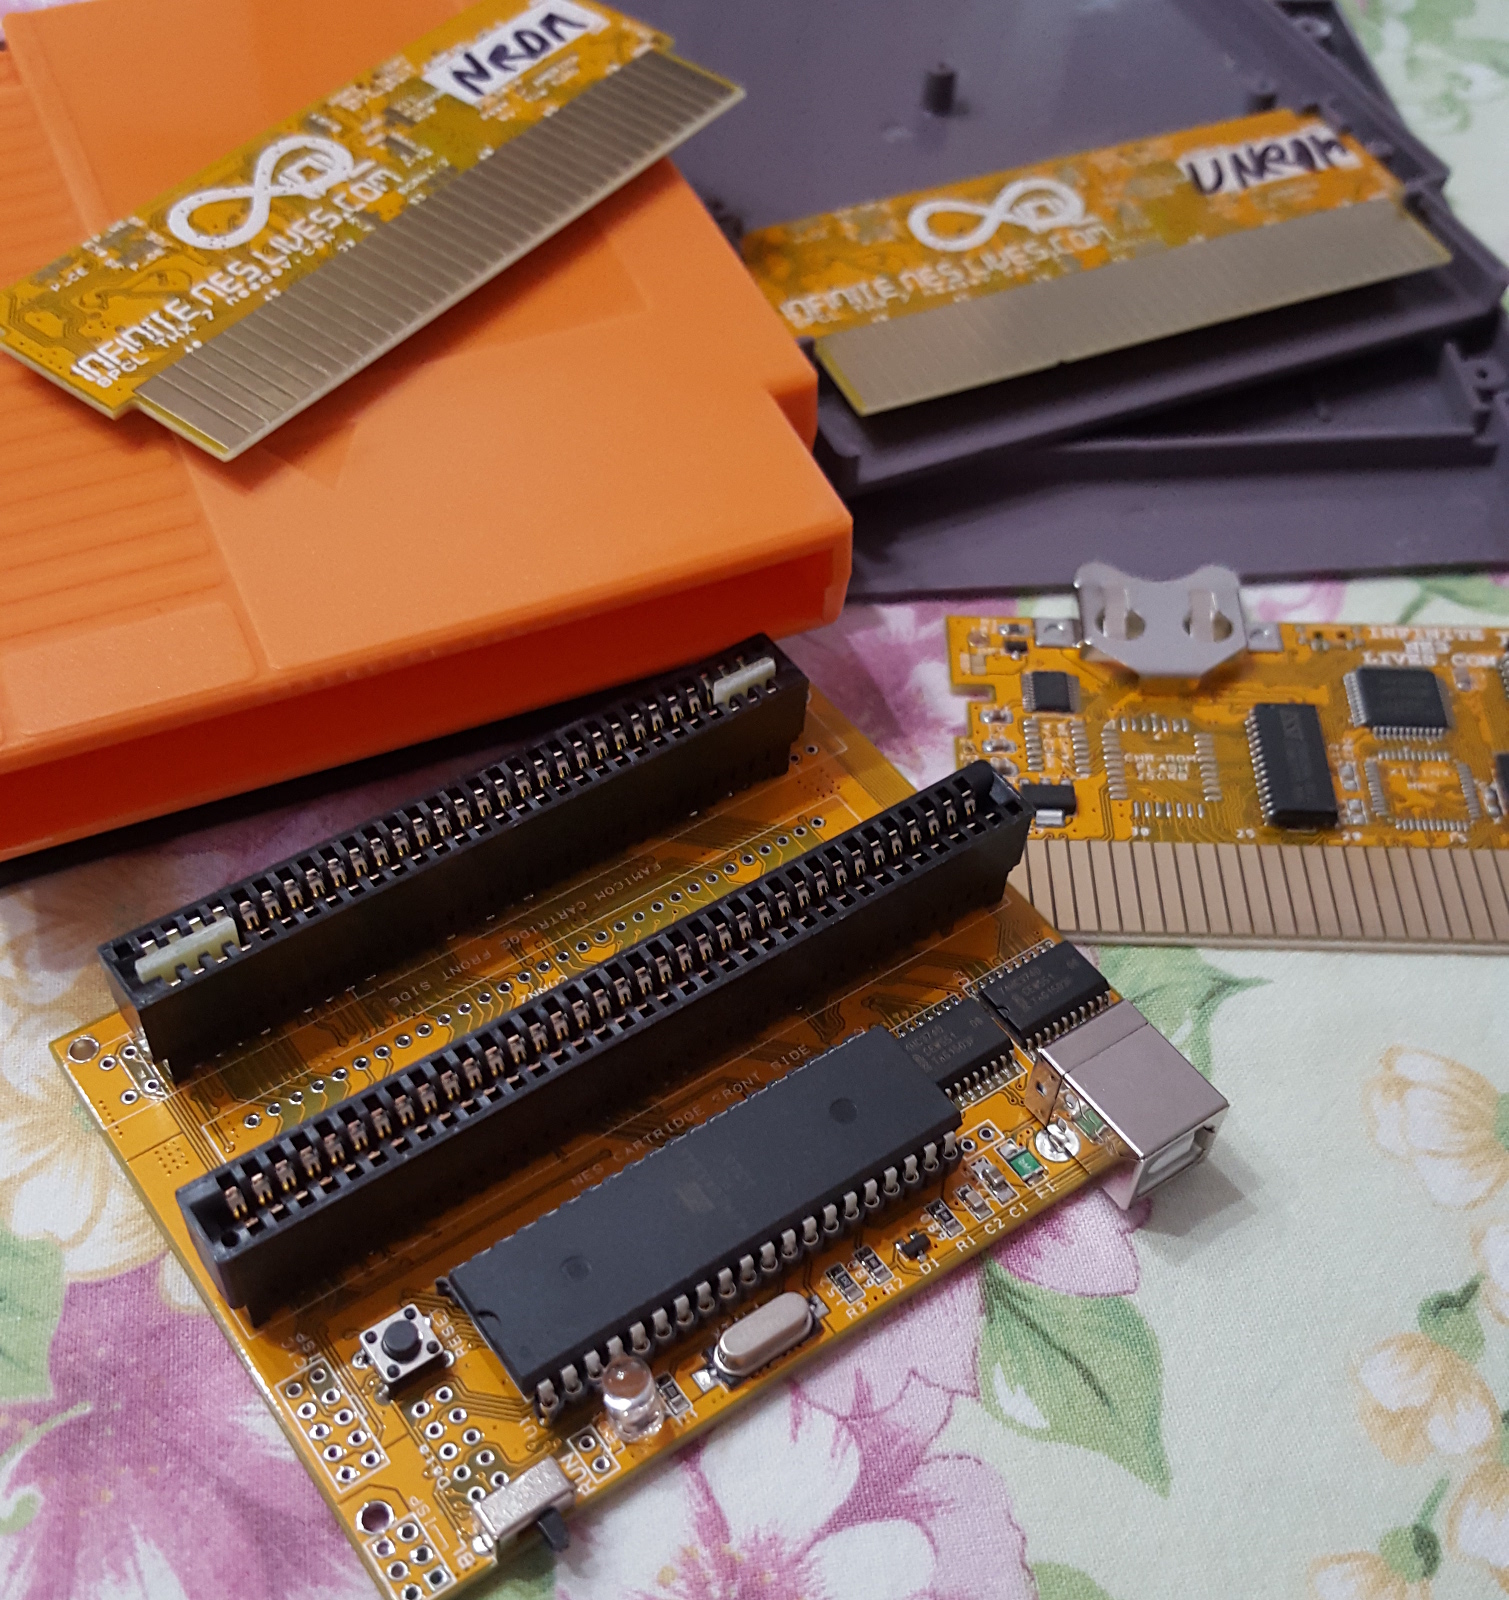
The product they sell is based on this specification, which includes functionality to program cartridges. So, in the case of Super Lupo Bros., I just needed to acquire the blank cartridge with the correct memory layout, and then use the hardware to program the cartridge with my modified game.
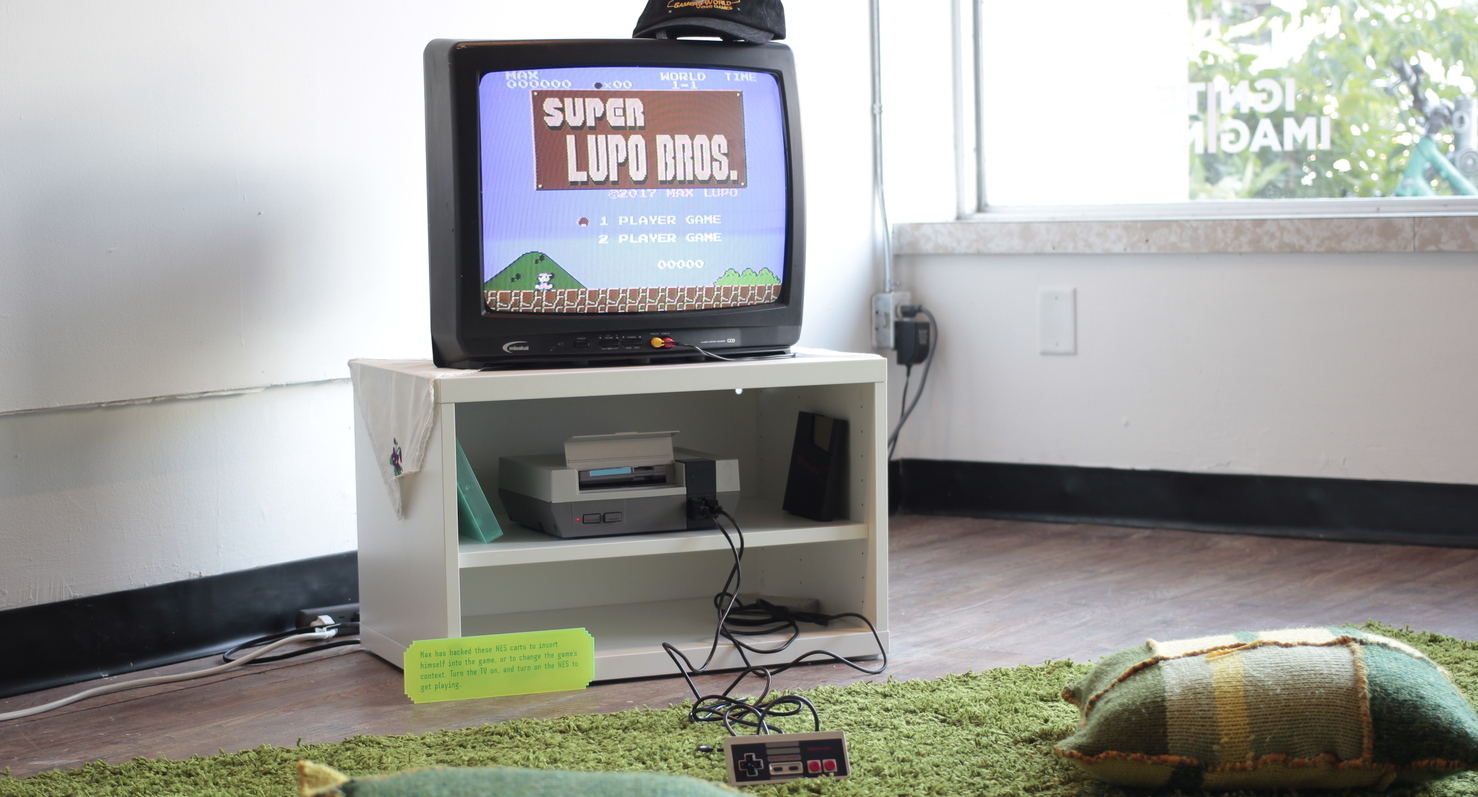
The final result is a game that (should) be playable in a regular ol' NES system! Below is the installation image, as seen in the exhibition Galaxy Champion Fun Zone.
And that about sums it up for Part 1! As I said, this was not really a how-to guide by any stretch--but hopefully this serves as a good collection of links to relevant resources if you take up a similar project.
If I ever write a "Part 2" post, it will touch on palette swapping, using a hex editor to change in-game text, and how to permanently apply game genie codes. These will be touched on as I go through the process of documenting the other game I modded: Dante's Inferno.